Image Map

Showing posts with label chalkboard. Show all posts

Tuesday, March 7, 2017

February 2017 Customer Photo Winner!


Ashley posted a picture of her Home Sweet Home Leaves decal as part of a review on Etsy. I think her display is looking great already and can't wait to see what else she adds to it. She got the 18" tall x 18" wide size in White. This is also a great idea if you want to switch out your decor or use it seasonally - put it on a chalkboard like Ashley did so you can move it around your home.

She said:
"My display is not yet done! But I love this decal - it was super easy to install and looks like I bought this decal on my chalk board! Love love love it! Thanks so much!"

She is winning our $50 credit for this month! Who will be March's winner? Don't forget to submit your own photo of your new decal in action for the chance to win! Tag us @wallquotes on Instagram or @belvederedesigns on Facebook, or email them in to info@wallquotes.com


~Liz

Monday, January 20, 2014

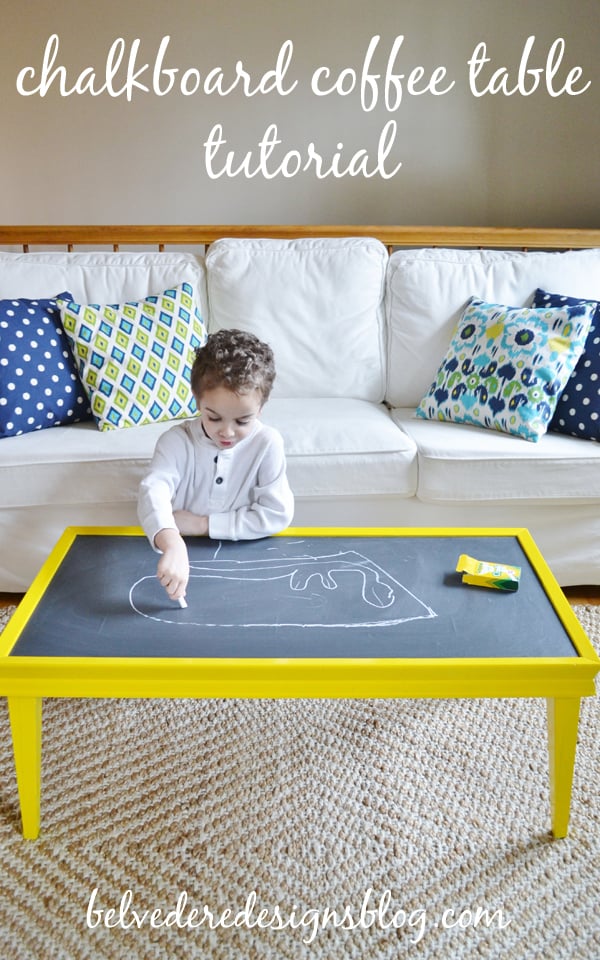
Chalkboard Coffee Table Tutorial and a Giveaway!

chalkboard coffee table 1

Hello, friends! I am so excited to share today's tutorial with you all...and, if you love chalkboard vinyl like we do, be sure to catch the giveaway at the end of this post!

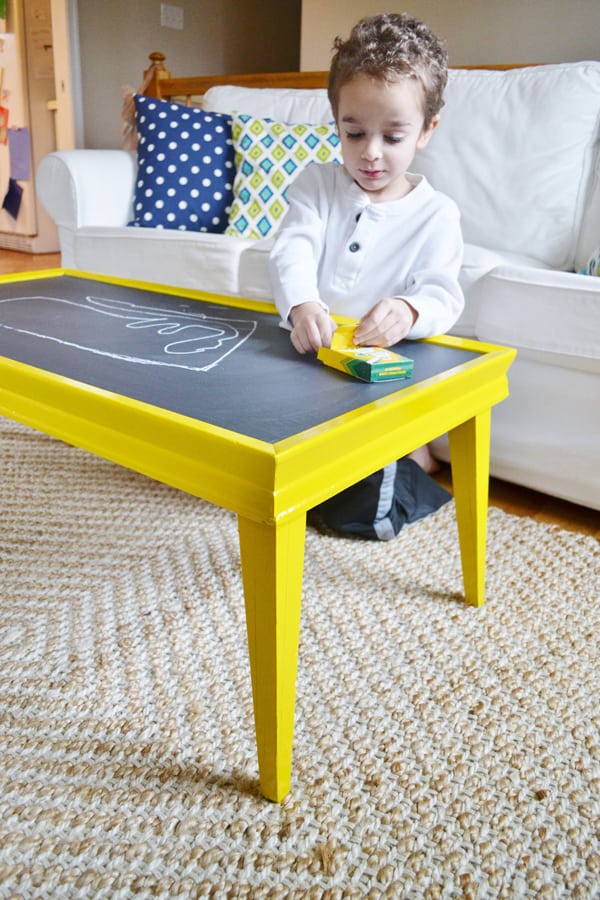
This is a simple and fun project using chalkboard vinyl from Belvedere Designs that gives you LOTS of bang for your buck. What kid (or anyone, really) wouldn't love this brightly painted, chalkboard coffee table? Here's the how-to:
 
Step 1: First, find a coffee table, end table, or other piece of furniture with a flat surface to use for this project. I found the coffee table I used from Craigslist, but this is also a great project for that piece of furniture sitting in your garage or attic that you just haven't figured out what to do with. Once you decide on your piece, measure the top to figure out exactly how big your chalkboard vinyl needs to be. Contact Belvedere Designs, and one of their helpful representatives will work with you to create your vinyl and get it shipped to you.
 
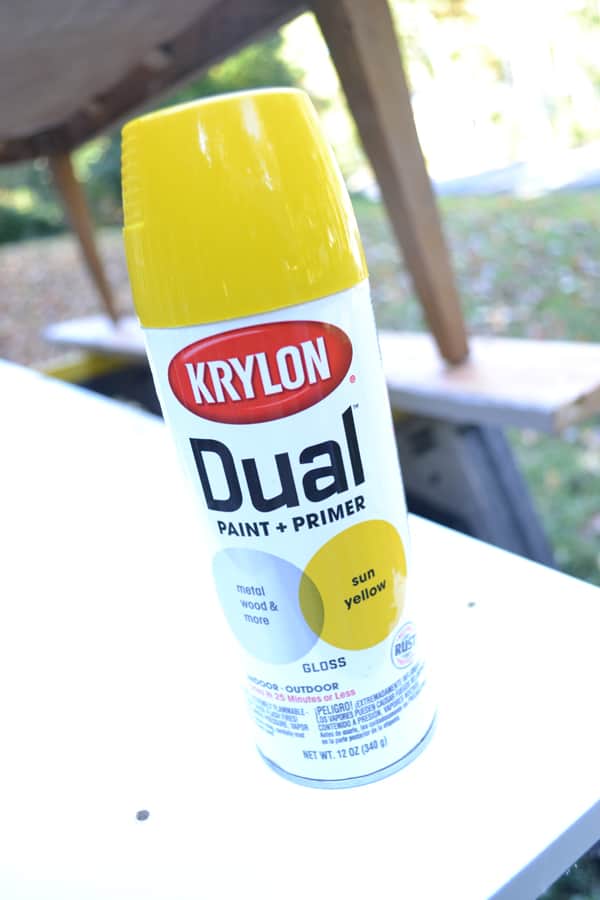
Step 2: Next, it's time to prep and paint your coffee table. Here's a before picture of my coffee table...as well as a close up of the spray paint I used.
 
chalkboard coffee table 4
chalkboard coffee table 3
 
While my spray paint claims to have the primer included, I did brush on a coat of primer since my table was in pretty rough shape. Two coats of spray paint and one shipment of chalkboard vinyl later, I was ready to get started.
 
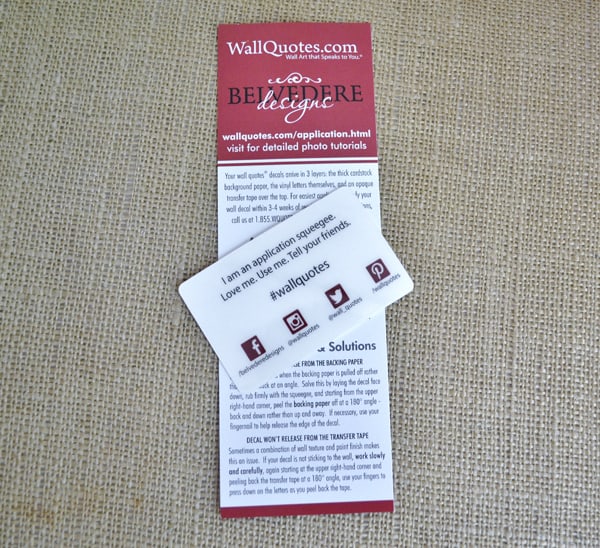
Step 3: Your vinyl will come with an application squeegee (shown below), which is very helpful in smoothing out your chalkboard vinyl. Because of the size of my table, it took two of us to apply, so ask a friend for help! We did not unwrap the entire vinyl sheet from the backing at once...we unwrapped a small portion, positioned and smoothed it onto the table, unwrapped a bit more, smoothed it out a bit more, and continue until you're done.
 
belvedere designs

Lastly, be sure to prime your chalkboard vinyl by taking a piece of chalk, lay it on it's side and rub your entire piece of vinyl with it. Erase, and do this twice more. Now you're ready to let your inner artist loose! Stand back and marvel at what a huge impact you can make with such a small investment of time and money.

chalkboard coffee table 2

Be sure to check out Belvedere Designs for other chalkboard products, including labels in lots of fun shapes! And now for the giveaway! We're giving away 3 sets of our Frannie Reusable Chalkboard Labels to one lucky reader...Good Luck!


a Rafflecopter giveaway

Wednesday, September 18, 2013

Chalkboard Menu Tutorial


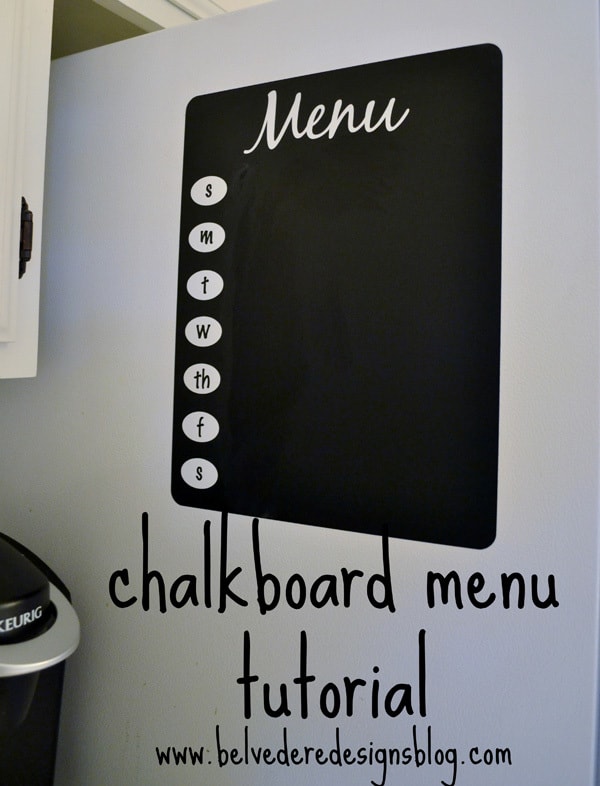
Hello there, Belvedere Designs fans! This is Linda, from burlap+blue, and I am so excited to be here with another great tutorial using decals from Belvedere Designs. It's the start of another school year, and if you are looking for a way to stay more organized this year, this post is for you. We're sharing an easy and attractive way to plan your meals for the week (who doesn't need help with that?!) using this fabulous new chalkboard menu decal from Belvedere Designs!

Materials:
chalk
 
Step 1: Gather your supplies, and get ready to apply your vinyl. First time? Don't be nervous. Belvedere Designs includes a handy instruction enclosure to help you through the process, plus, an application squeegee to ensure your vinyl creations turn out perfectly. Detailed photo tutorials are also available on their site.
 
To purchase the decal that I used for this piece, click here! There's also a second chalkboard menu option, called the Elegant Chalkboard Menu that you may like!
 
Step 2: Let's begin! We'll be doing this in several parts. We'll first apply the word "menu" to the decal, followed by the days of the week. We'll then prime the decal (very important whenever you work with chalkboards!) and hang it.
 
I attached the decal to my refrigerator, but I think this would also look super cute on the inside (or even the outside!) of a cabinet or pantry door!
 
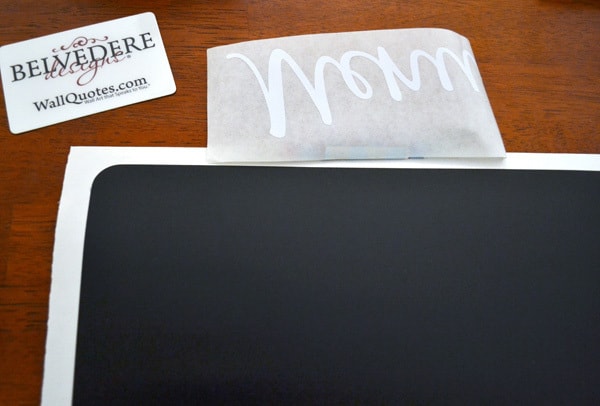
First up, place the "menu" decal where you want it, and use a piece of tape to hold it in place. Using the tape as a hinge, flip up decal and peel off backing. Lay decal back down carefully...
 
 
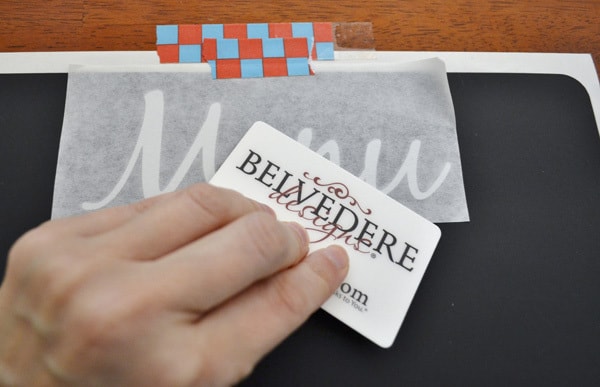
....and starting from the center, squeegee the vinyl decal firmly.
 
 
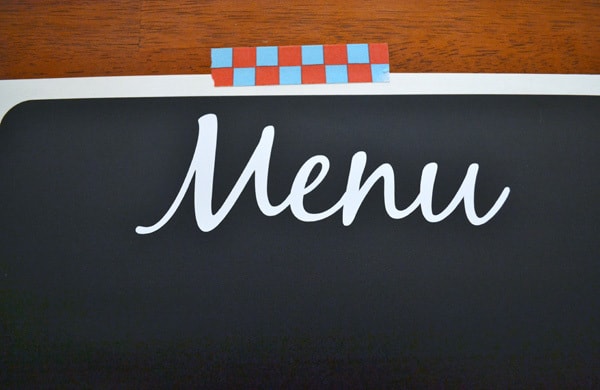
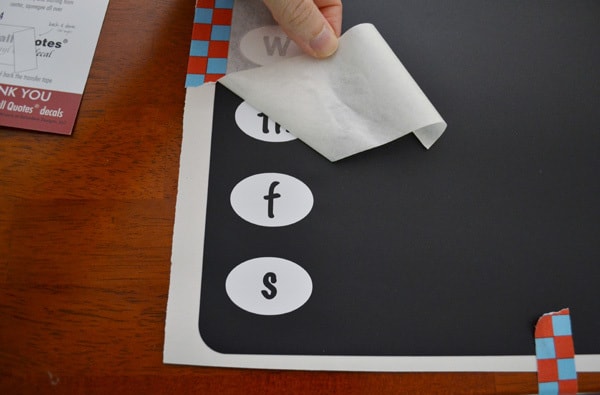
Step 3: Carefully peel back the transfer tape. To do this, start at a corner and peel the transfer tape off at a 180 degree angle-back and down rather than up and away. If necessary, use your fingers to press down on the letters as you peel back the tape.
 
 
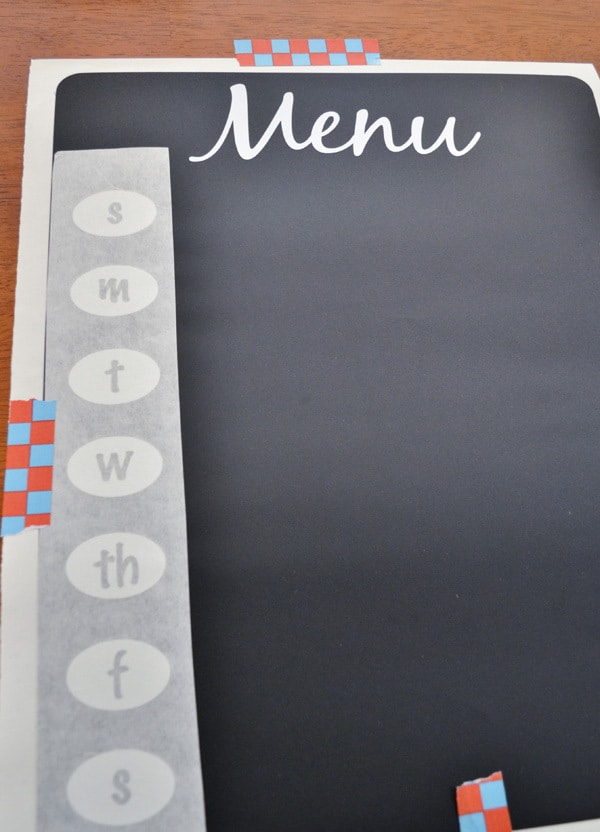
Step 4: Following the same steps, apply the days of the week decals to the left side of your menu.
 
 
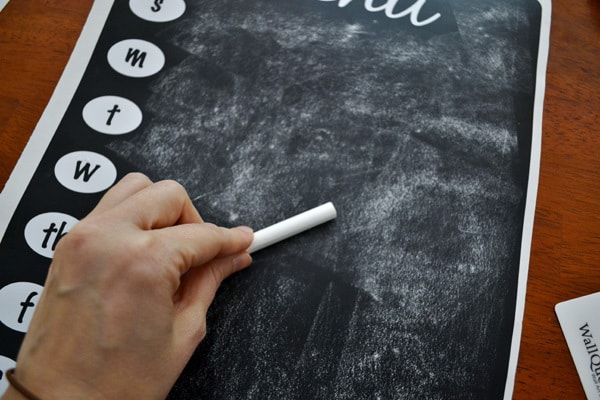
Step 5: Now it's time to prime your chalkboard menu. Take a piece of chalk, and, laying it on it's side, rub the decal with the chalk. Erase with a paper towel, and repeat two more times.
 

Step 6: Remove decal from the backing, and apply to the surface of your choice, smoothing as you go.
And you're done! I am super excited about this decal and know it's going to help me stay organized this school year!
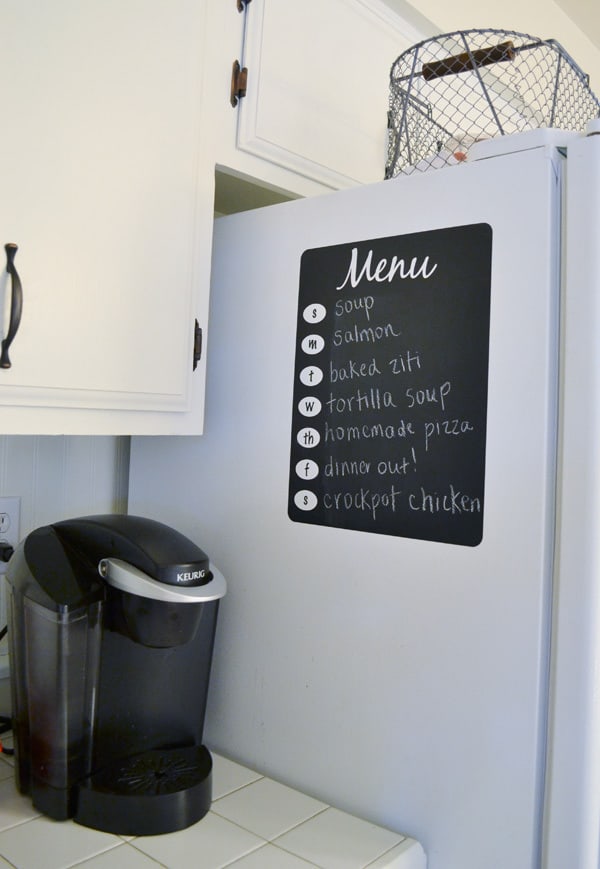

 
Head over to Belvedere Designs now to check out this new and fabulous vinyl decal!