
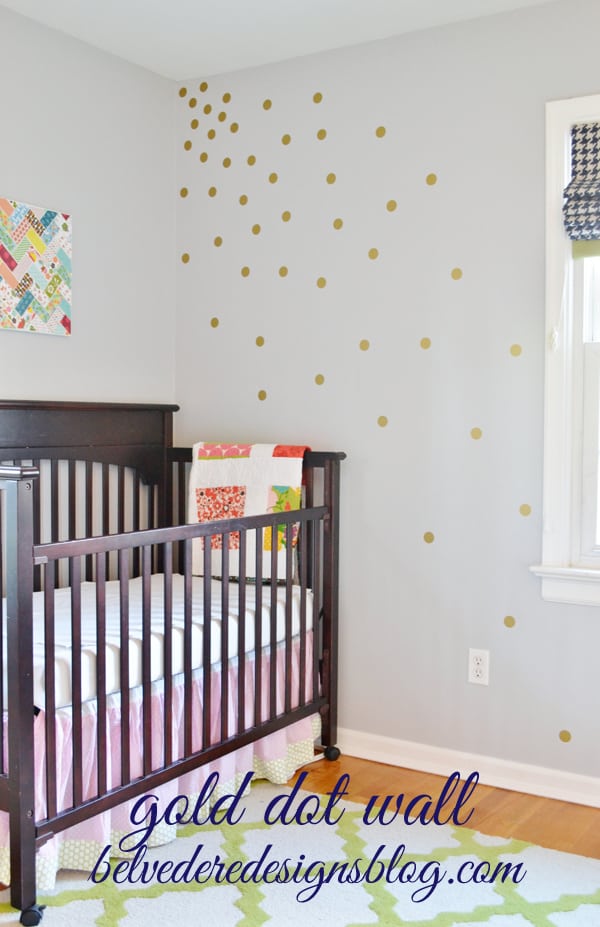
Hello, Belvedere Designs fans! I am so excited to share with you all this amazing room redo using polka dot wall decals from Belvedere Designs. This is such a fun way to add some color and interest to your walls...I did this in my kids' bedroom, but this would be equally amazing in an office or bathroom. Belvedere Designs has many colors of polka dots to choose from, so you can coordinate the dots with your décor.
Step 1: All you need for this project are your polka dots and a blank wall (or ceiling!) First time working with vinyl decals? Don't be nervous. Belvedere Designs includes a handy instruction enclosure to help you through the process, plus, an application squeegee to ensure your vinyl creations turn out perfectly. Detailed photo tutorials are also available on their site.

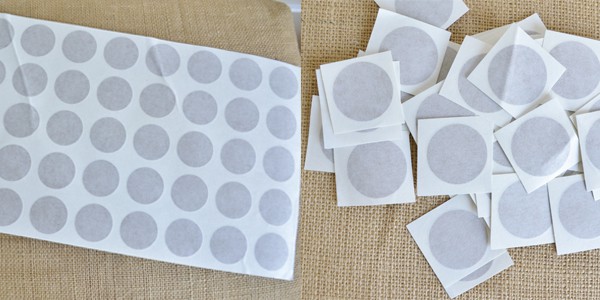
Your polka dots will come in one large sheet, just cut them into individual dots and get ready to begin. I used 50 1.5" dots for this project.
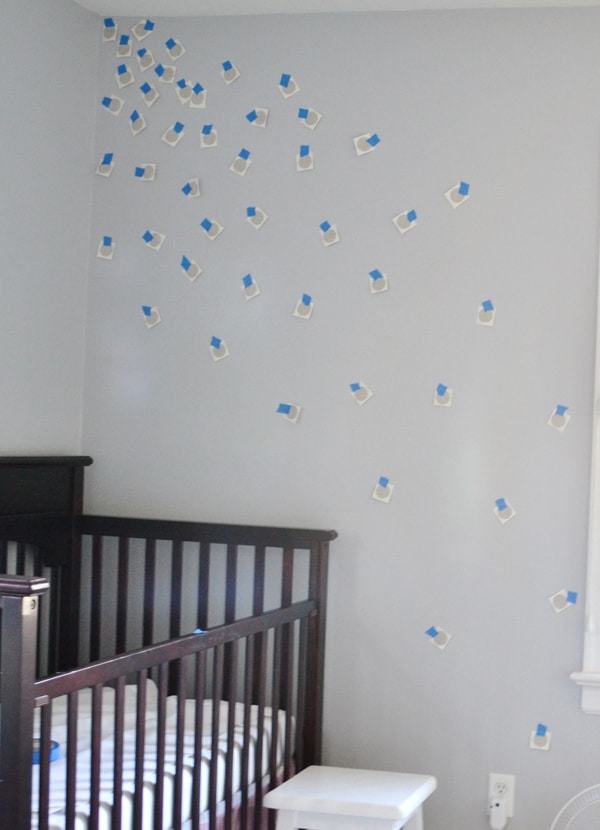
Step 2: Arrange dots on the wall, using pieces of painters tape to hold them in place. Painters tape is great because you can easily rearrange them if necessary.
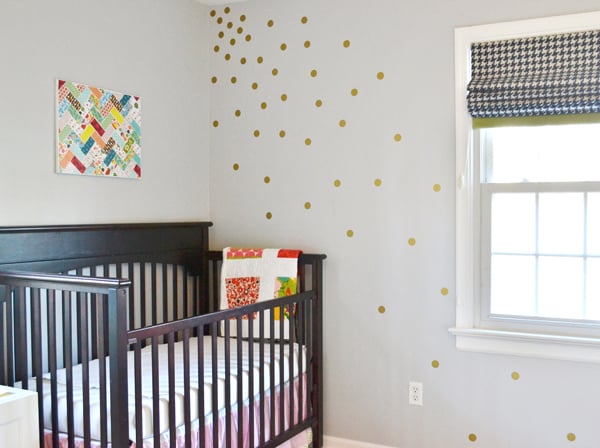
Step 3: Once you're happy with the layout, it's time to begin applying the decals. The process is easy. First, using the tape as a hinge, flip the dot and remove the paper backing. Place vinyl back down on the wall and use the application squeegee to firmly rub over the dot to make sure it adheres firmly to the wall. Lastly, remove the transfer tape from the decal, pulling slowly and carefully. Repeat 49 times :)

And you're done! Stand back and marvel at what a huge impact you can make with such a small investment of time and money.

Linking to:
Craft-O-Maniac
Craft-O-Maniac
No comments:
Post a Comment